
Recomendados
Recomendados
Mais conteúdo relacionado
Destaque
Destaque (18)
Semelhante a Installing fonts in gimp
Semelhante a Installing fonts in gimp (20)
Installing fonts in gimp
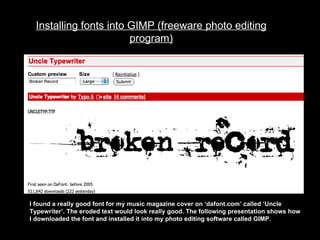
- 1. Installing fonts into GIMP (freeware photo editing program) I found a really good font for my music magazine cover on ‘dafont.com’ called ‘Uncle Typewriter’. The eroded text would look really good. The following presentation shows how I downloaded the font and installed it into my photo editing software called GIMP.
- 2. First, I downloaded the TTF file. The next stage is to find the relevant folders and insert the file into it. I select ‘Show Package Contents’ on gimp. I make a new folder in ‘Package Contents’ which I will store future fonts in that I want installed.
- 3. I rename the folder ‘Fonts’. I then paste the TTF file into the folder called ‘Fonts’. The next stage is making GIMP recognize the folder as a fonts folder. I go to ‘Edit’ and ‘Preferences’.
- 4. In ‘Preferences’, I select ‘Fonts’. Next, I select ‘Open’ and find the folder that I previously created. I then press ‘OK’ to finish the procedure of adding a folder to the fonts so that it is recognized.
- 5. As you can see here, it has now been added to the Font folders in GIMP. I can now use the chosen font. To confirm that I can use the font I go to the text tool in GIMP. I scroll down until the font is visible and I select it.
- 6. Here, I have tried the font out. I can now proceed with my music magazine cover.